The iPhone makes it easy for you to delete individual text messages and conversations on iMessage.
With our complete guide, you can learn how to delete messages on your iPhone with ease. It is also possible to undo messages you sent or edit them when you use the iOS 16 models. Let's take a closer look!
Delete Single Messages From Your Messages Thread
If you no longer want to have a message in your messages thread on your iPhone, you think the thread is getting crowded, or you want to get rid of specific messages for privacy reasons, you can delete it.
Steps
- Open a conversation in the iMessages app.
- Within it, touch and hold the message bubble. This opens an options menu.
- Click on More > Trash > Delete Message.
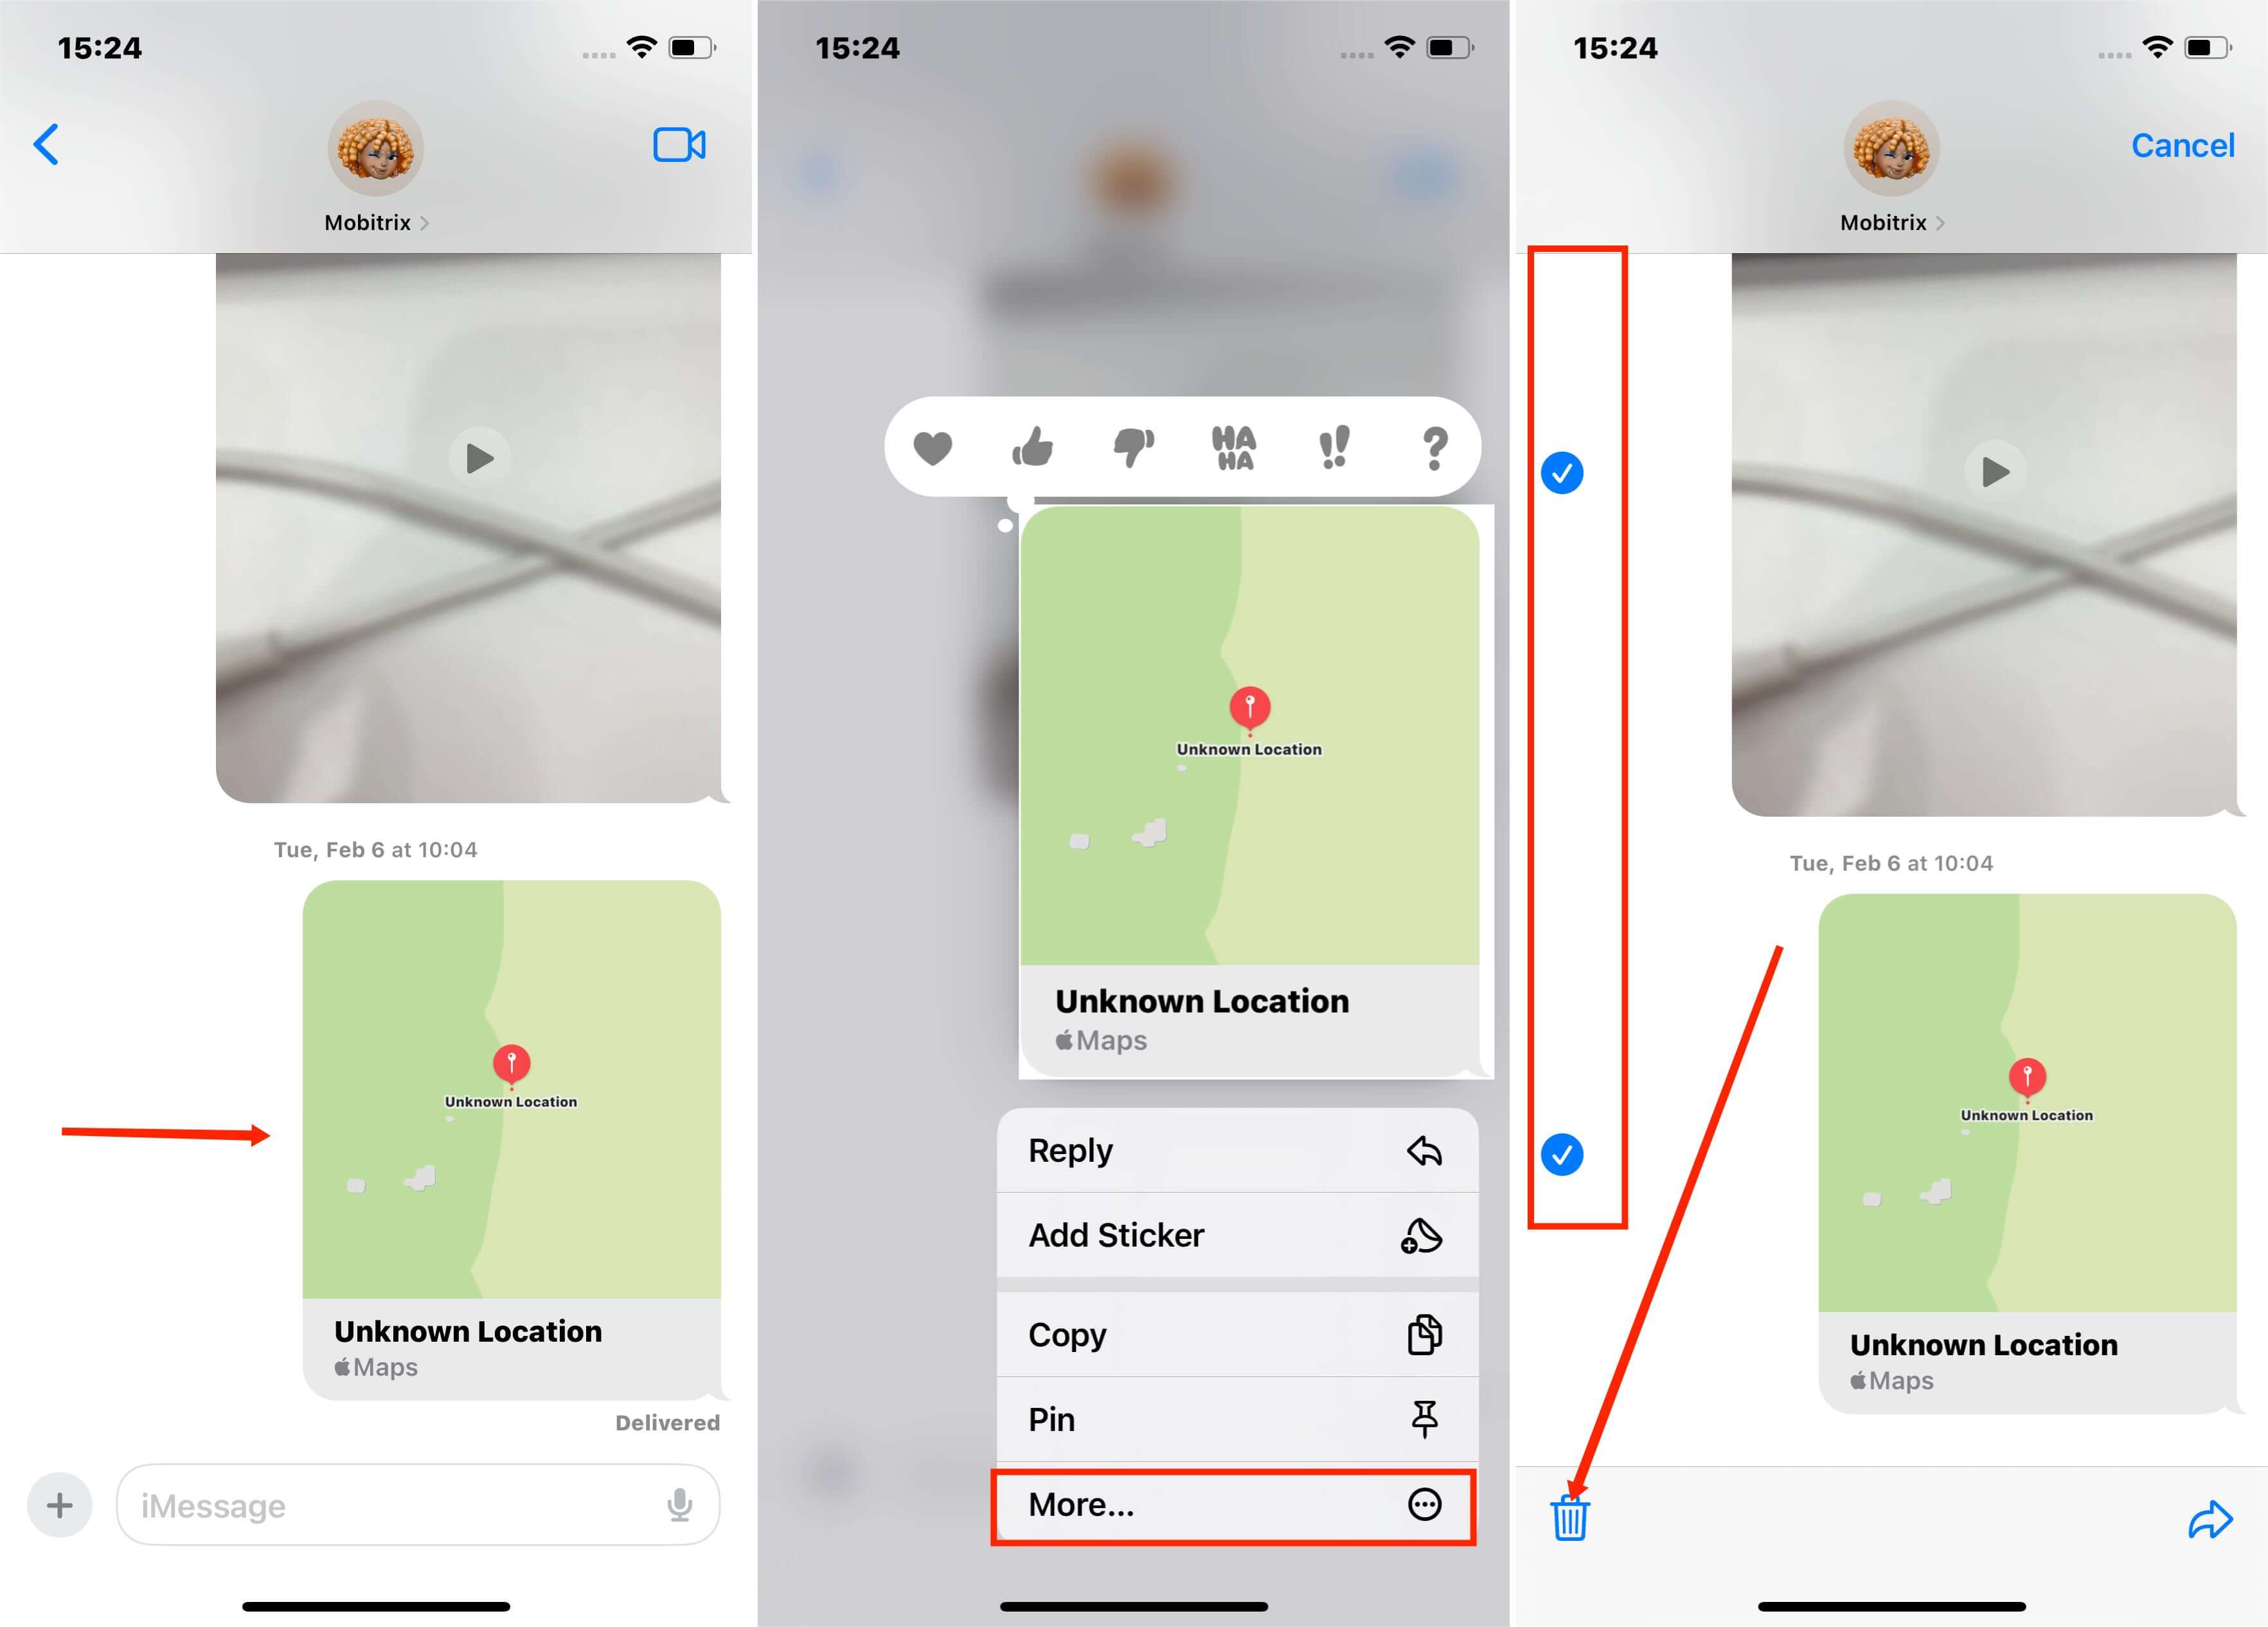
Delete Message in the iMessages app
Undo a Sent Message with iOS 16
When you delete a message, it only disappears from your thread, and the contact can still see it. But if you want to delete a message from your thread and the person you are chatting with, you should undo the message instead.
Steps
- Open the Messages app and click on a conversation.
- Touch and hold the message that you want to unsend.
- Click on Undo Send.
- You get a notification that says, ‘You sent a message'.
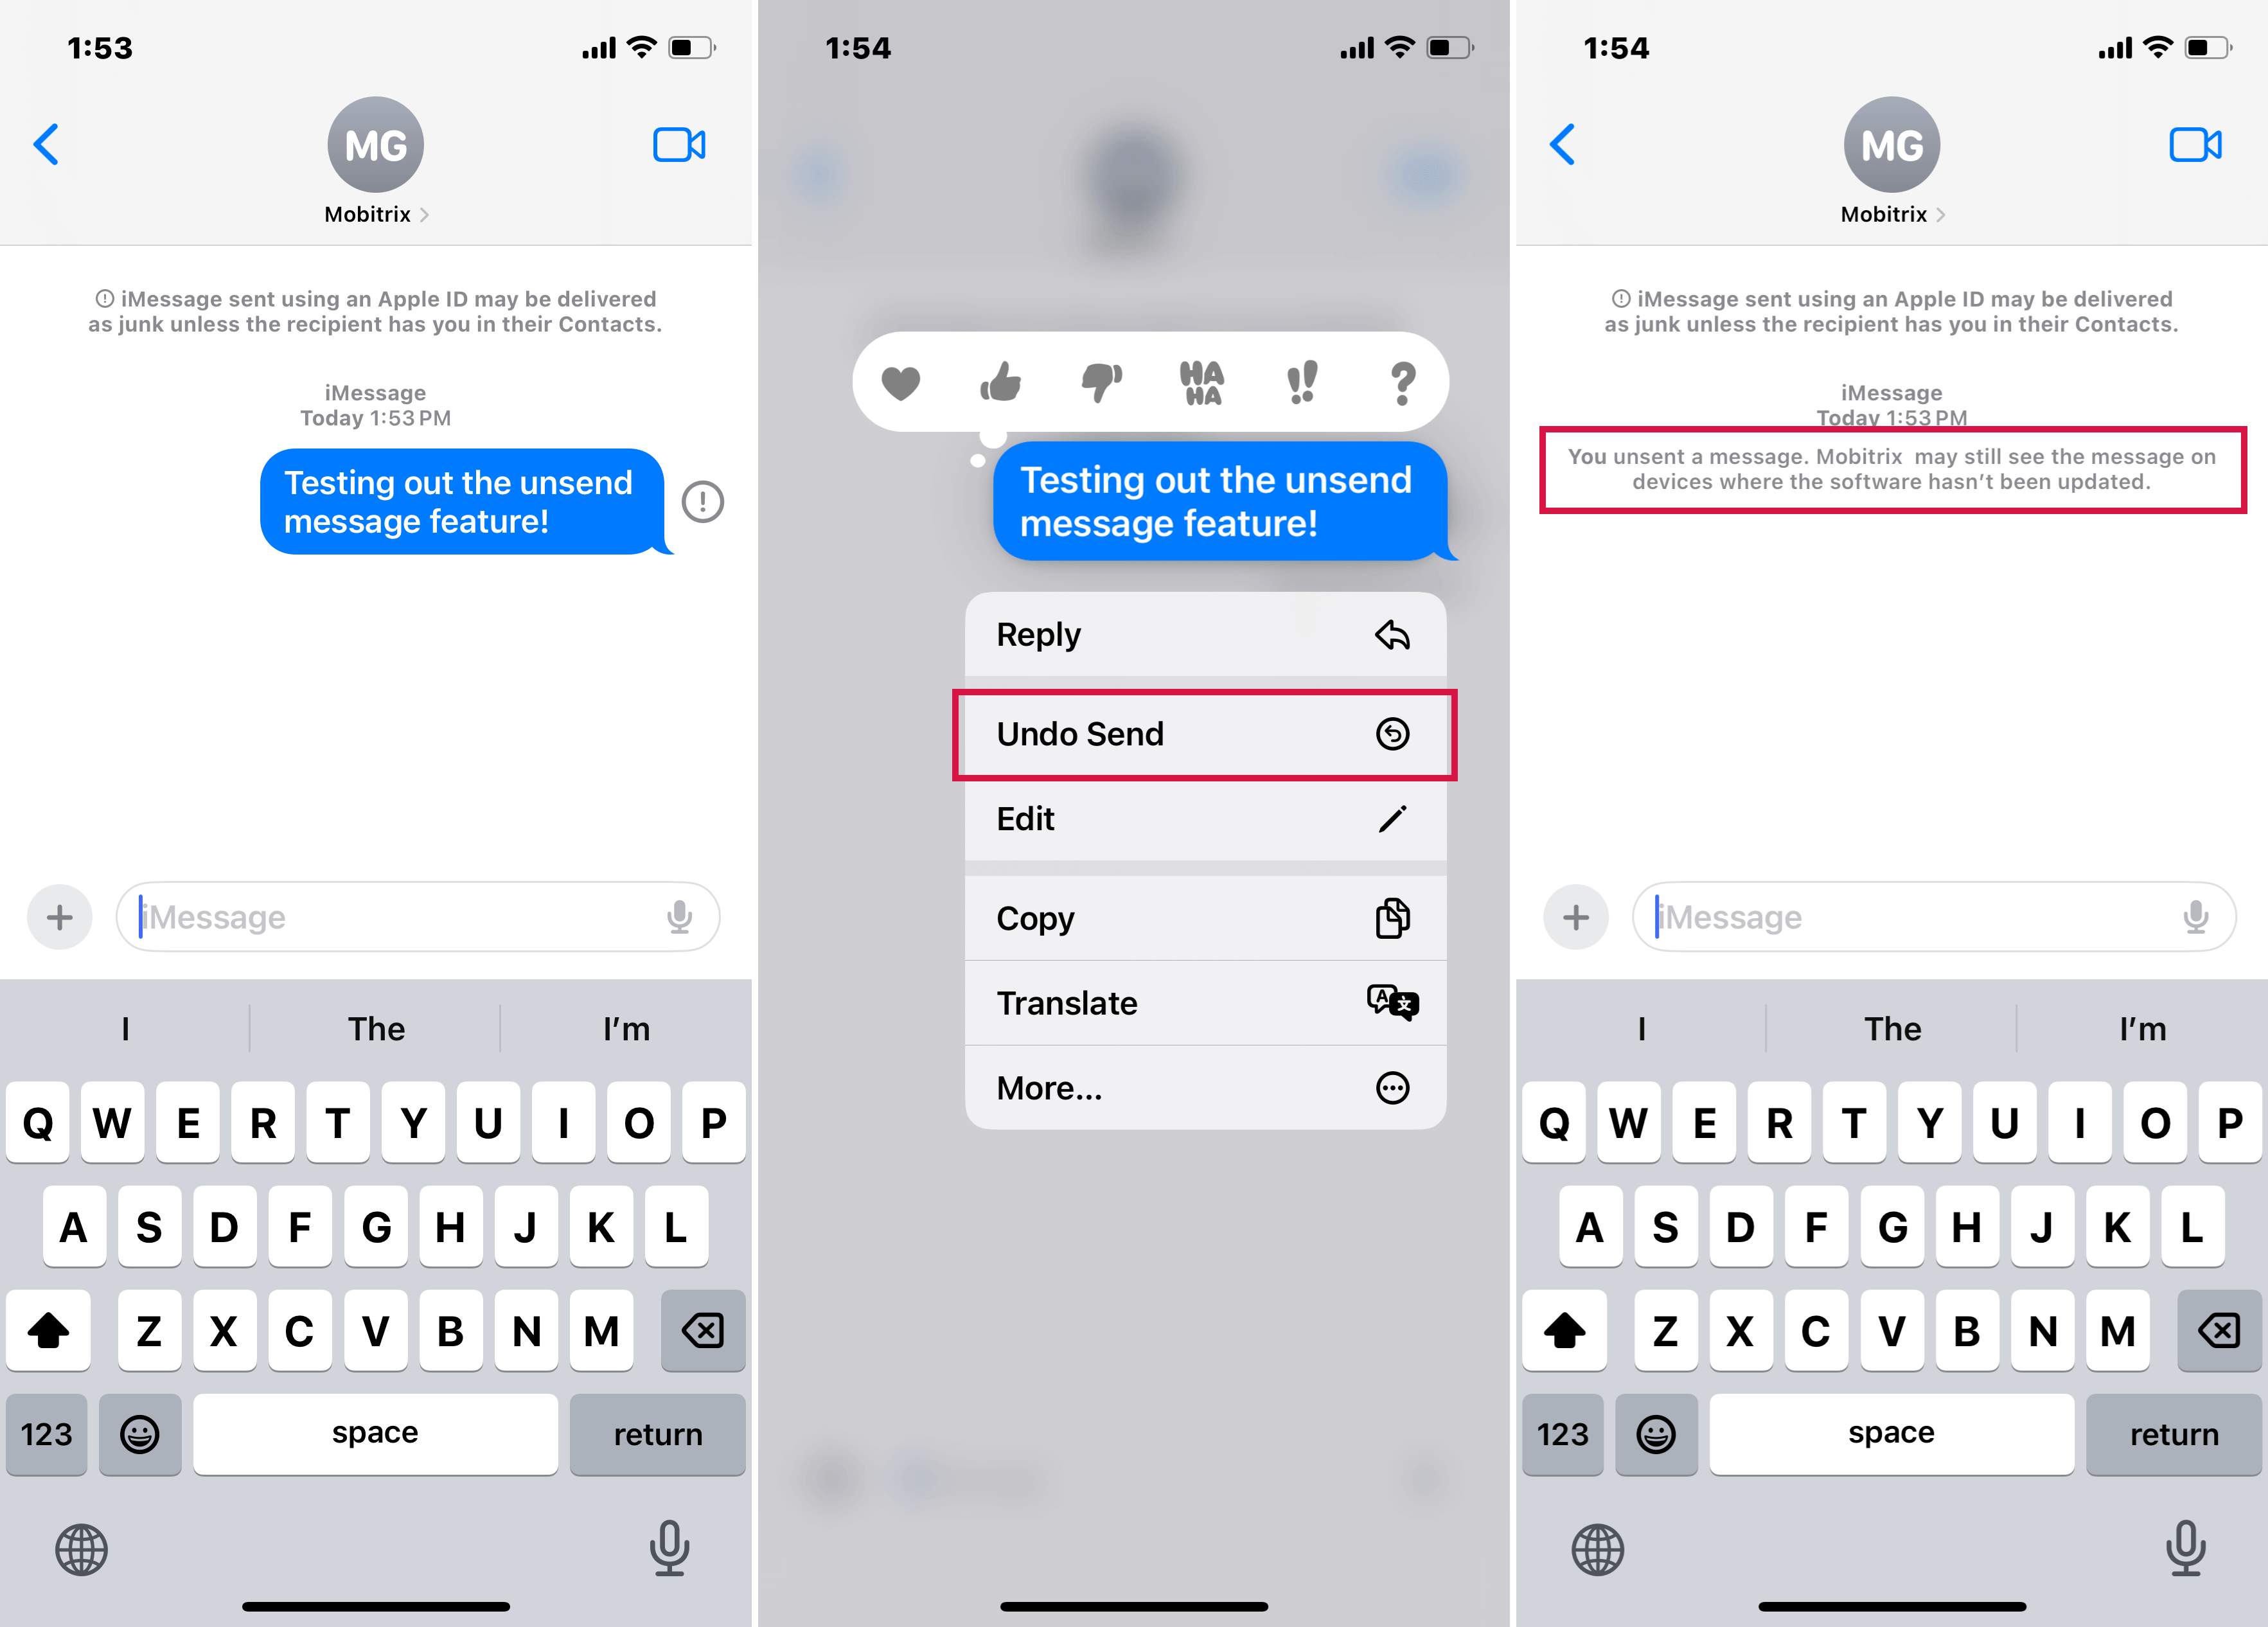
You unsent a message
Edit a Sent Message
Everyone has made embarrassing typos when chatting with a contact on the iMessage app. Before the iOS16, you had to let the recipient know that you made a mistake in another message.
But now, you can edit a sent message within 15 minutes after it was sent. If you edit it, you see Edited under the message. You can edit a message up to five times within 15 minutes.
Steps
- Open Messages and click on the conversation.
- Touch and hold the message that you want to edit.
- Click on the Edit button.
- Edit the text and click on the checkmark to send it. You can click on X to go back to the original message.
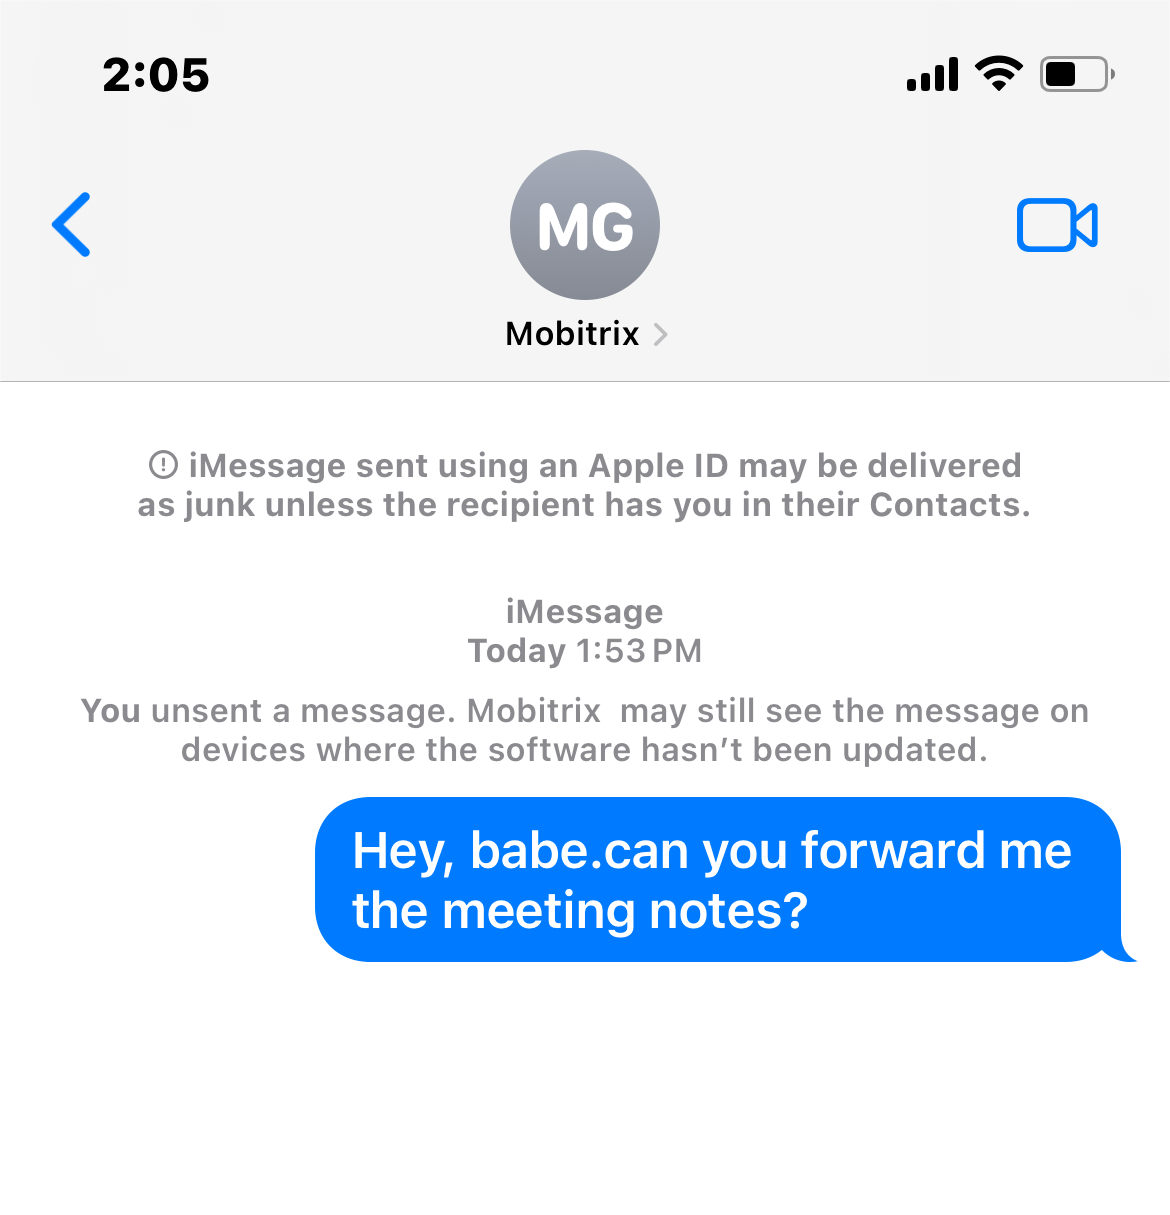
iMessage Conversation
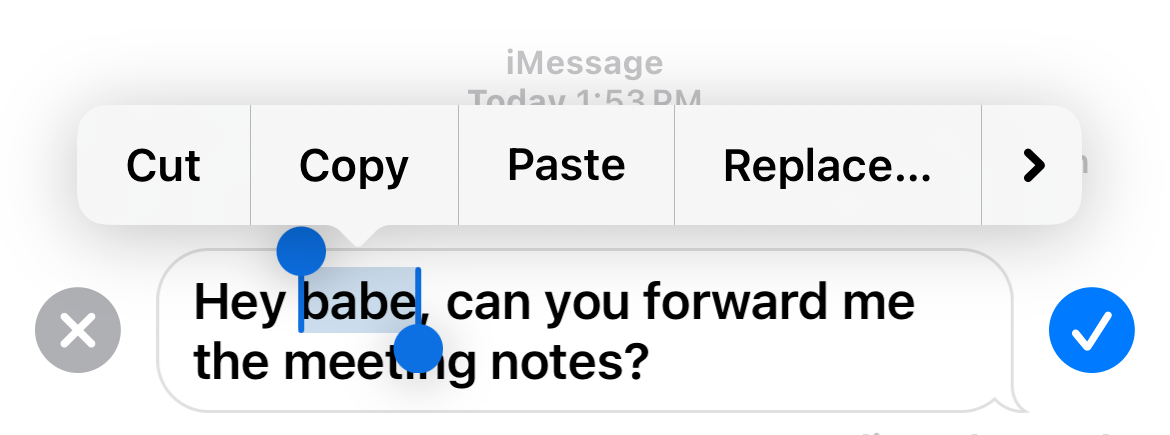
The message you sent is available to edit
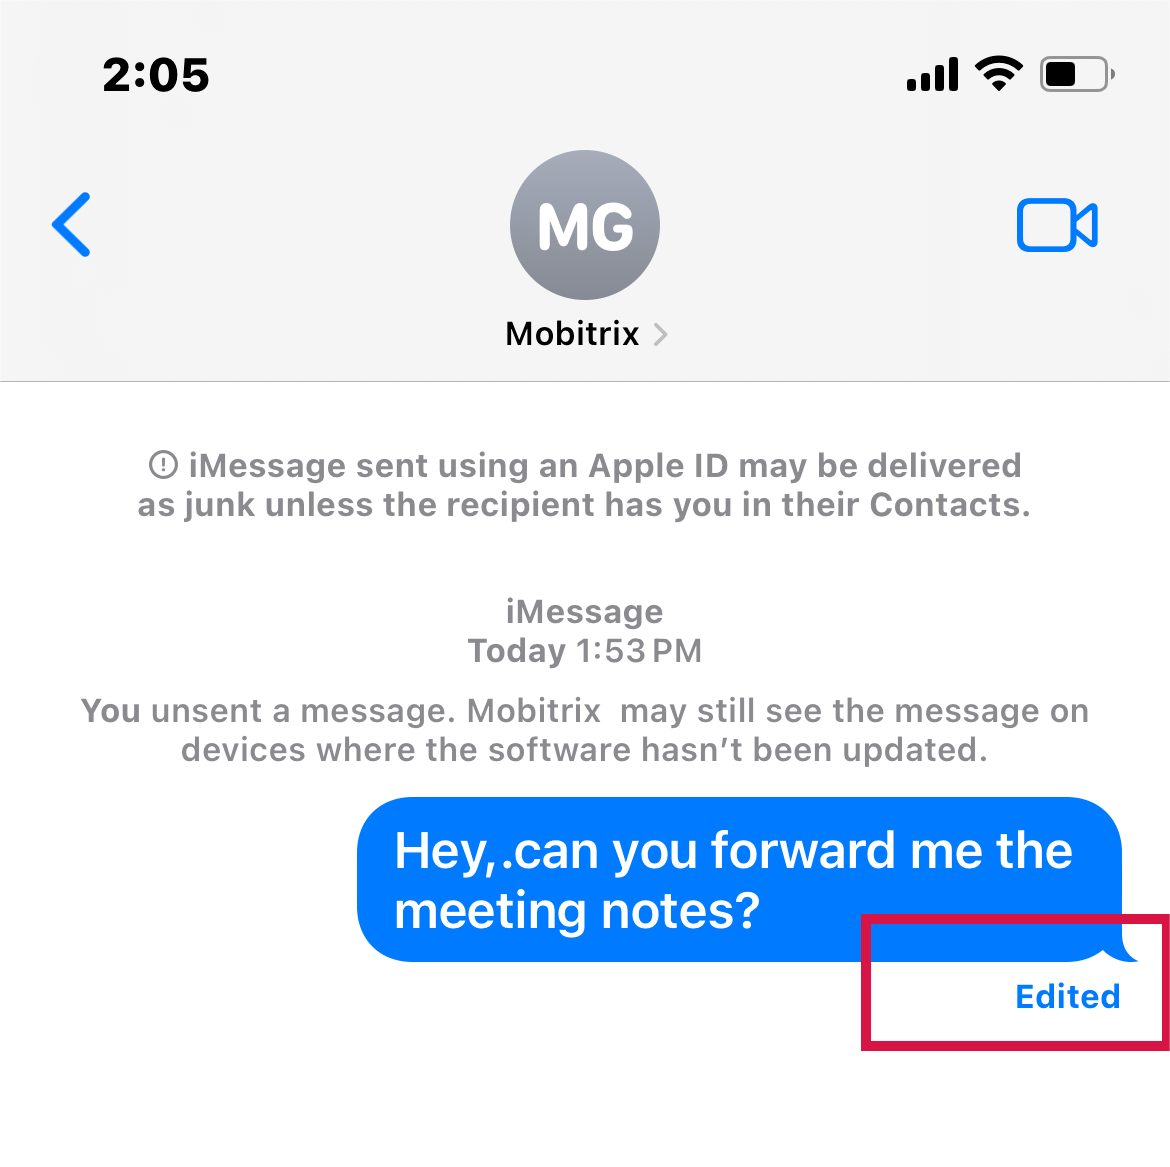
The Message is edited and Send Successfully
Delete Conversation on iMessage
Although you can delete a single thread of messages in a conversation, it's also possible to delete an entire conversation on the iMessage app.
If you think you have too many conversations on your phone or no longer want to have a specific conversation, it's easy to delete it.
Steps to Delete a Conversation
- Open the Messages app and click on the conversation you want to delete.
- Swipe left on the conversation.
- Click on Delete.
- Confirm Delete in the pop-up menu.

Swipe left on the conversation
Steps to Delete Multiple Conversations
- Open the Messages app.
- Click on Edit at the top-left corner of the page.
- Choose the conversations you want to delete.
- Select Delete .
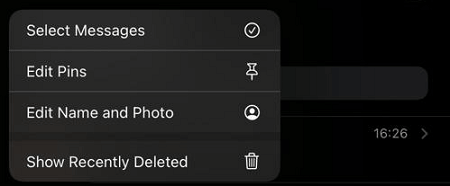
Edit pop up
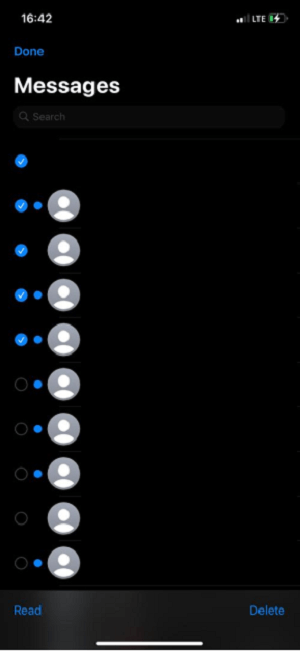
Multiple conversations selected
Recover Deleted Messages in a Conversation
It is possible to recover a message that you deleted in a conversation after 30 days. You can also recover the entire conversation that you have deleted. In the beginning, you can choose to hide the messages instead of deleting it if you don't want this happening again.
Steps
- Click on the arrow (<) on top of the message conversation.
- Click on Edit > Show Recently Deleted OR Filters > Recently Deleted.
- Click on the message that you want to recover.
- Select Recover Messages.

Show Recently Deleted OR Filters
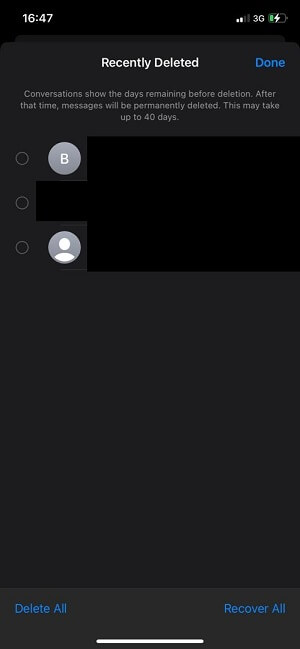
Recently Deleted on iMessages
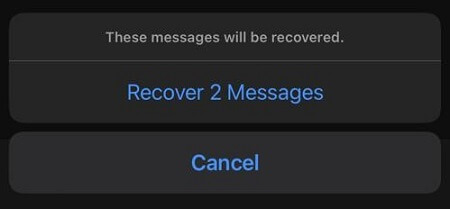
Recover Messages
How to Mark a Message as Unread with iOS 16
Another feature added for iMessages on iOS 16 is marking a message unread.
This feature is helpful if you don't want to address the contents of a message. You can mark it unread so that it remains a new message until you have the time to read it.
Steps
- Open the Messages app.
- Click on the message in the conversations list.
- Long press it and click on Mark as Unread.
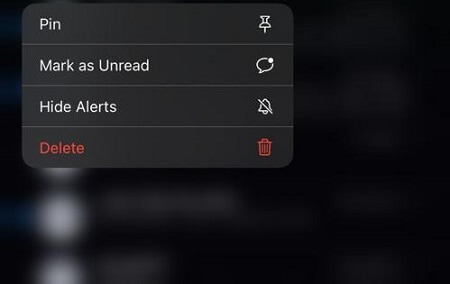
Mark as Unread
Now that you know how to delete messages on your iPhone, you can easily keep your conversation list organized.
You also know other helpful features, like undoing the sent messages and editing a message you have already sent. It makes it easy to eliminate typos or messages you didn't mean to send.
I hope this guide is helpful. Visit Mobitrix for more iPhone tricks!
